Complete Guide: Install Nextcloud AIO on Ubuntu with Docker and a Domain
Part I: Nextcloud Theory & Context
What is Nextcloud?
Nextcloud is the world’s most popular self-hosted content collaboration platform. Simply put, it’s a private, secure alternative to cloud services like Google Drive and Dropbox, giving you complete control over your data. Unlike public cloud services, your files are stored on your own server.
Core Features, Importance, and Benefits
Nextcloud is more than just file sync; it’s a powerful collaboration hub:
| Category | Feature & Importance | Benefit |
|---|---|---|
| Security | Data Sovereignty: You control the server, encryption keys, and access policies. | Maximum privacy and compliance with regulations like GDPR. |
| Files | File Sync and Share: Access files from desktop and mobile apps; share files and folders securely with passwords and expiry dates. | Seamless productivity and universal access across all devices. |
| Collaboration | Nextcloud Office (Collabora/OnlyOffice): Real-time, collaborative editing of documents, spreadsheets, and presentations directly in the browser. | Full workplace functionality without relying on third-party SaaS tools. |
| Communication | Nextcloud Talk: Secure, self-hosted video calls, chat, and screen sharing. | Secure communication that keeps sensitive discussions off public platforms. |
| Extensibility | App Store: Thousands of official and community apps for features like backup, password management, and calendar. | Highly customizable to fit individual or business needs. |
Pros and Cons of Self-Hosting Nextcloud
| Pros (Advantages) | Cons (Disadvantages) |
|---|---|
| Full Control & Privacy: Complete ownership of your data. | Maintenance: You are responsible for server updates, backups, and security. |
| No Subscription Fees: Only pay for hardware/hosting costs. | Initial Setup Complexity: Requires some technical knowledge (which Nextcloud AIO largely solves). |
| Unlimited Storage: Limited only by your server’s disk space. | Performance: Dependent on your server hardware and internet upload speed. |
| Custom Branding: Ability to tailor the look and feel for a business. | Static IP/Domain Required: Necessary for external access and SSL certificates. |
Nextcloud All-in-One (AIO) Explained
Nextcloud AIO is the deployment method used in this guide. It dramatically simplifies the setup process by using Docker to bundle all required components into a single, easy-to-manage solution:
- Nextcloud Core: The main application.
- Database: A dedicated database (MariaDB/PostgreSQL).
- Web Server (Apache): Handles web traffic.
- Reverse Proxy/TLS (SSL): Automatically obtains and renews Let’s Encrypt certificates.
- Optional Apps: Easy one-click install for Collabora Office, Talk, and more.
In short, Nextcloud AIO turns a multi-day configuration task into a simple, automated process.
Part II: Installation Guide - Ubuntu, Docker & AIO
Step 1: Server Preparation and Docker Setup
Log into your Ubuntu server (22.04 LTS or newer) via SSH.
# Update packages
sudo apt update
sudo apt upgrade -y

# Install Docker Engine and the Docker Compose plugin
curl -fsSL https://get.docker.com | sudo sh

# Add your user to the docker group
sudo usermod -aG docker ${USER}

# Apply the group change without logging out
newgrp docker
Step 2: Configure the Firewall (UFW)
You must open specific ports for the AIO process, SSL certificate management, and the final application access.
# Allow SSH access
sudo ufw allow OpenSSH

# Allow Nextcloud AIO mandatory ports (80/443 for SSL, 8080/8443 for AIO Interface)
sudo ufw allow 80/tcp
sudo ufw allow 443/tcp
sudo ufw allow 8080/tcp
sudo ufw allow 8443/tcp

# Allow Nextcloud Talk ports (Recommended for full functionality)
sudo ufw allow 3478/tcp
sudo ufw allow 3478/udp

# Enable the firewall
sudo ufw enable
sudo ufw status
Step 3: Start the AIO Master Container
This single container handles the entire deployment. Ensure your domain’s A record is pointing to your server’s public IP address.
sudo docker run -d \
--init \
--sig-proxy=false \
--name nextcloud-aio-mastercontainer \
--restart always \
--publish 80:80 \
--publish 8080:8080 \
--publish 8443:8443 \
--volume nextcloud_aio_mastercontainer:/mnt/docker-aio-config \
--volume /var/run/docker.sock:/var/run/docker.sock:ro \
ghcr.io/nextcloud-releases/all-in-one:latest
After running this, the terminal will display a unique Passphrase (or you’ll find it on the setup screen). Copy this passphrase and save it securely!
Part III: Web-Based Setup & Final Login
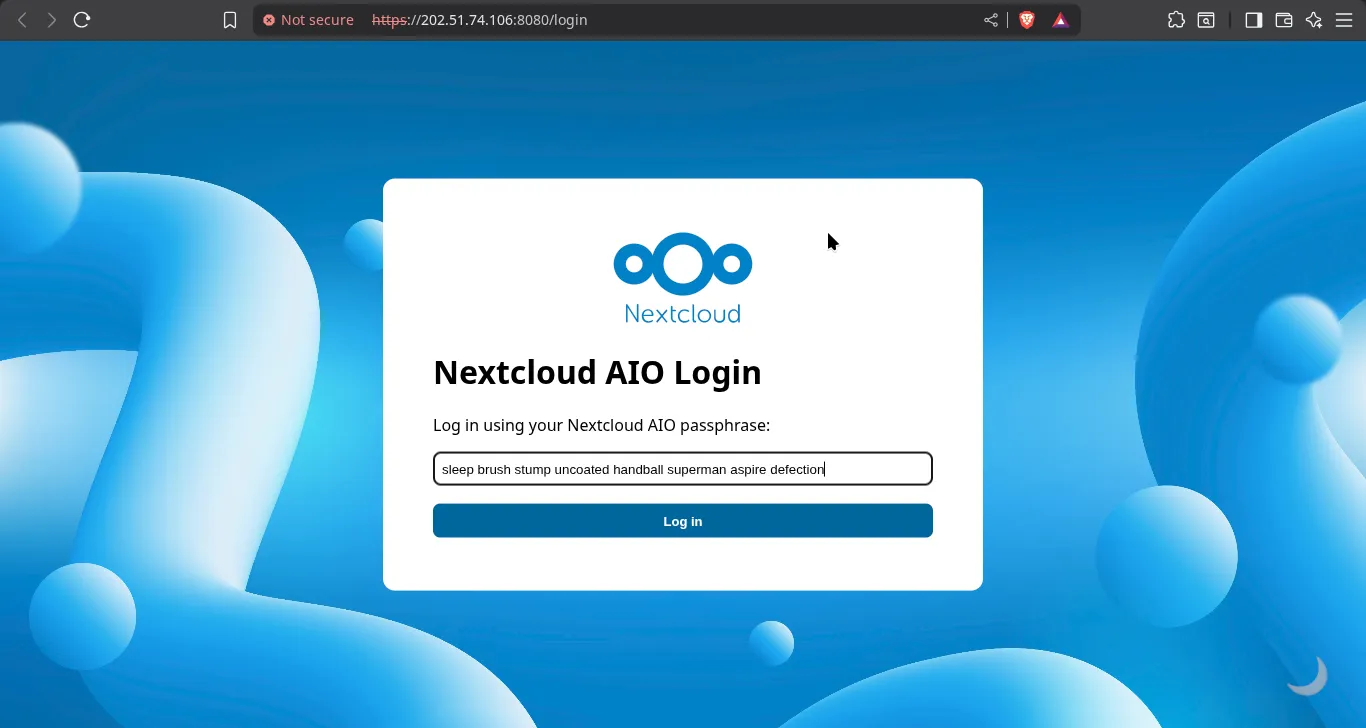
Step 4: Access the AIO Interface and Log In
Open your web browser and navigate to the AIO interface using your server’s public IP address:
https://202.51.74.106:8080
- Click Open Nextcloud AIO login.
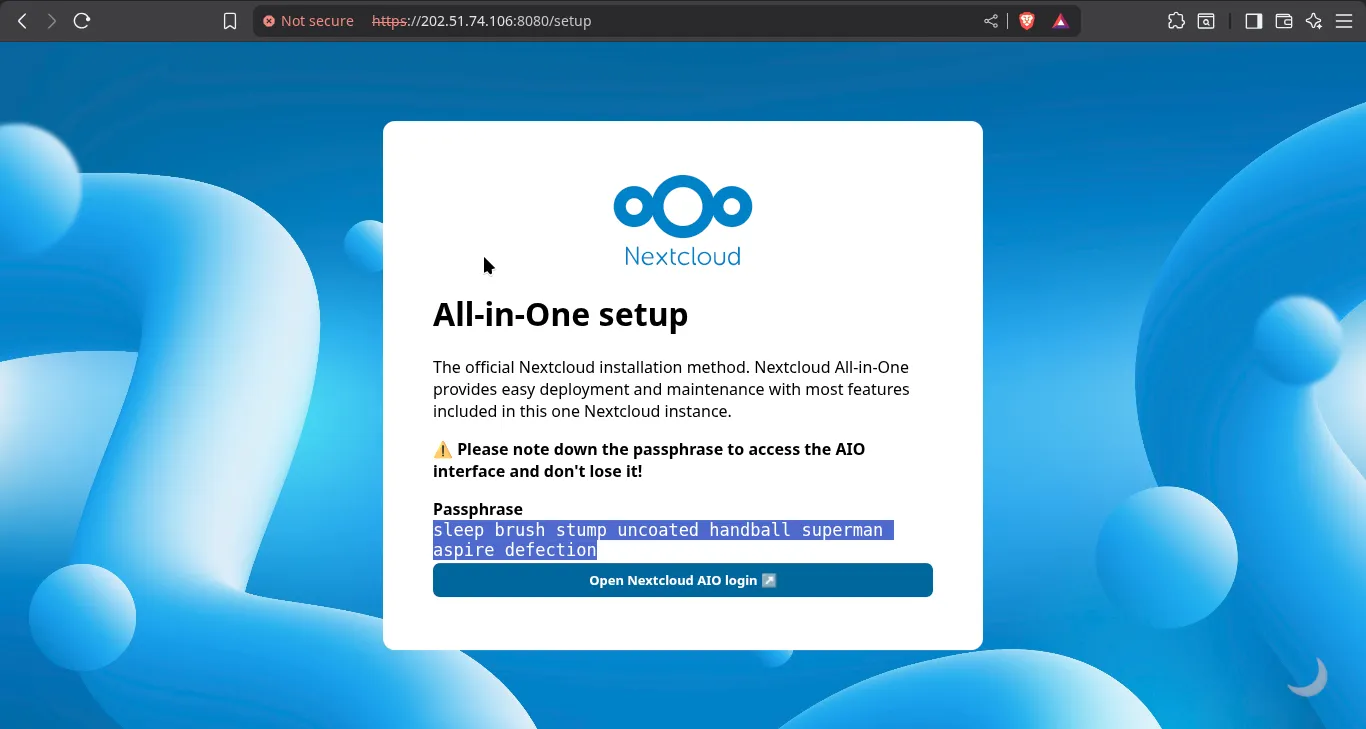
- Enter the Passphrase you copied to access the AIO dashboard.
Step 5: Configure the Domain (Troubleshooting Proxies)
-
Enter Domain: Type your public domain (e.g.,
nextcloud.janakkumarshrestha0.com.np) and click Submit domain. -
Troubleshooting the Proxy: If you use a service like Cloudflare and receive a “DNS config is not set…” error, you must temporarily disable the Cloudflare proxy (set the record to DNS only/Grey Cloud) to allow Nextcloud to obtain the SSL certificate.
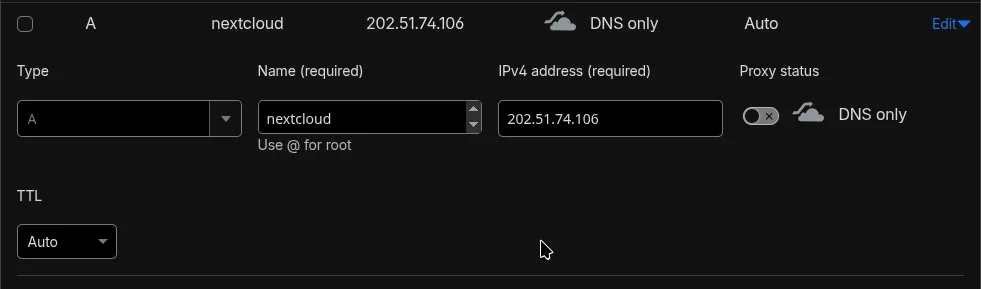
- Once the domain check passes, you can proceed.
Step 6: Start All Nextcloud Containers
- Select the desired Optional containers, such as Collabora (Nextcloud Office).
- Click Download and start containers.
Nextcloud AIO Optional Containers
| Container Option | Purpose | Key Benefit | Resource Requirement |
|---|---|---|---|
| Nextcloud Office (Collabora/OnlyOffice) | Provides a high-performance backend for collaborative document editing. This is what allows you to open, view, and jointly edit Word, Excel, and PowerPoint files directly in your browser. | Enables full-featured, real-time document collaboration that is fully self-hosted. | High. This is one of the most resource-intensive containers and requires significant CPU and RAM, especially with multiple simultaneous users. |
| Nextcloud Talk | Provides the backend for Nextcloud Talk, including the necessary TURN server. The TURN server is essential for handling video calls and screen sharing when devices are behind restrictive firewalls (NAT traversal). | Guarantees reliable, peer-to-peer video conferencing and secure chat. | Medium. Requires specific ports to be open (3478/TCP and 3478/UDP). |
| Imaginary | A containerized tool that generates previews and thumbnails for specialized file types. This includes formats like HEIC, HEIF, Illustrator, PDF, SVG, TIFF, and WebP. | Ensures that specialized image and document formats display thumbnails correctly in your file browser. | Low to Medium. Used on-demand when files are uploaded or accessed. |
| ClamAV | An Antivirus backend for Nextcloud. When enabled, files uploaded to your instance are automatically scanned for malware before being stored. | Improves the security of your instance by preventing the storage and spread of malicious files. | Medium. Requires resources for continuous virus definition updates and file scanning. |
| Fulltextsearch | Installs a dedicated engine (like Solr or Elasticsearch) to enable full-text searching. This allows users to search inside the content of various file types (like PDFs, Word documents, text files), not just by file name. | Highly increases the usability and speed of finding content across your large file collection. | Medium to High. The engine requires dedicated resources and time to index your data. |
| Whiteboard | Adds the ability to create and collaborate on simple, shared drawing canvases directly within Nextcloud. | Provides a quick tool for visual brainstorming and drawing during calls or meetings. | Low. |
| Docker Socket Proxy | A necessary container that acts as a secure intermediary. It is required for the proper functioning of the Nextcloud App API. | Ensures internal container communication and management features work securely. | Very Low. |
Recommendation: For a standard setup, it is highly recommended to enable Nextcloud Office, Nextcloud Talk, and Imaginary for the best user experience. Only enable ClamAV and Fulltextsearch if you have sufficient RAM and CPU power (8GB+ RAM recommended) and plan on managing a large amount of data or users.

The AIO system will now download, configure, and start the entire Nextcloud stack.
Step 7: Final Login
Once the deployment is complete, the AIO status page will show all major containers as Running.
- Copy the Initial Nextcloud Password: The screen provides a new Initial Nextcloud password for the main admin account. Copy it.
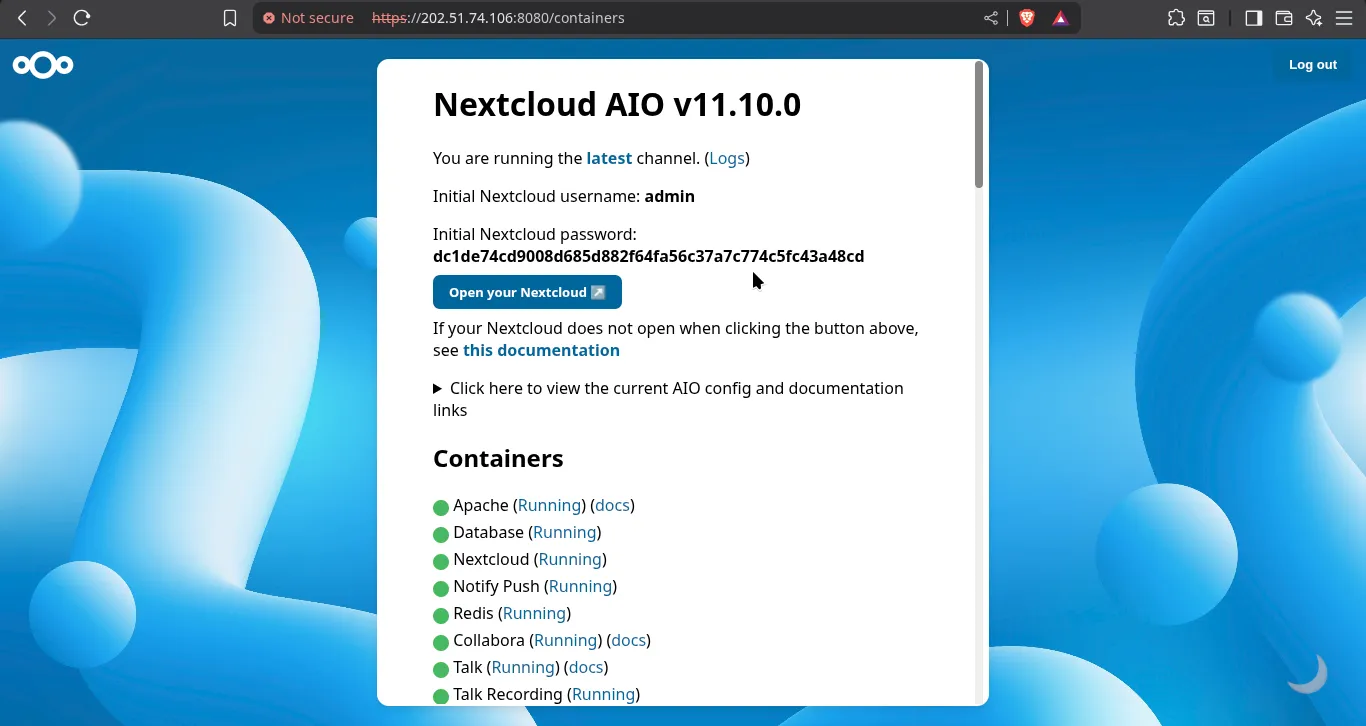
- Click Open your Nextcloud.
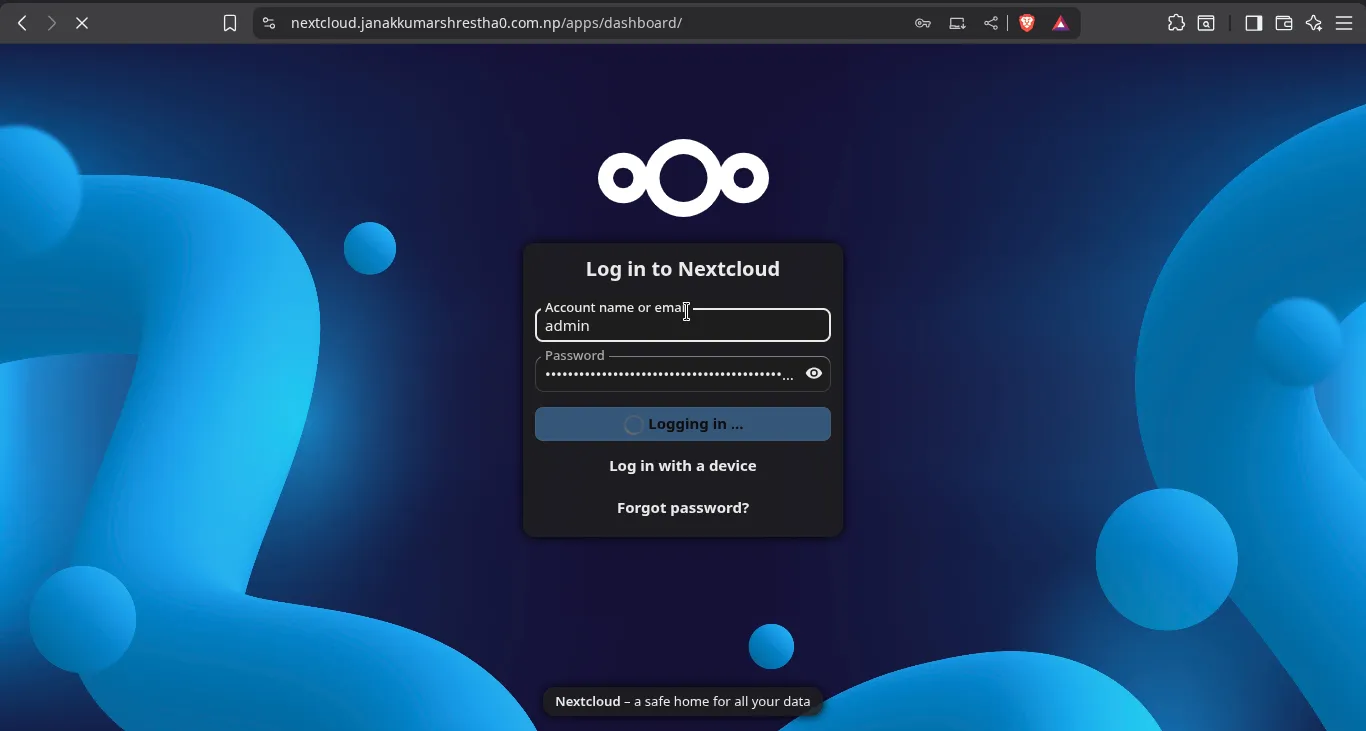
You will be redirected to your secure domain URL (e.g., https://nextcloud.janakkumarshrestha0.com.np). Log in with the user admin and the new password.
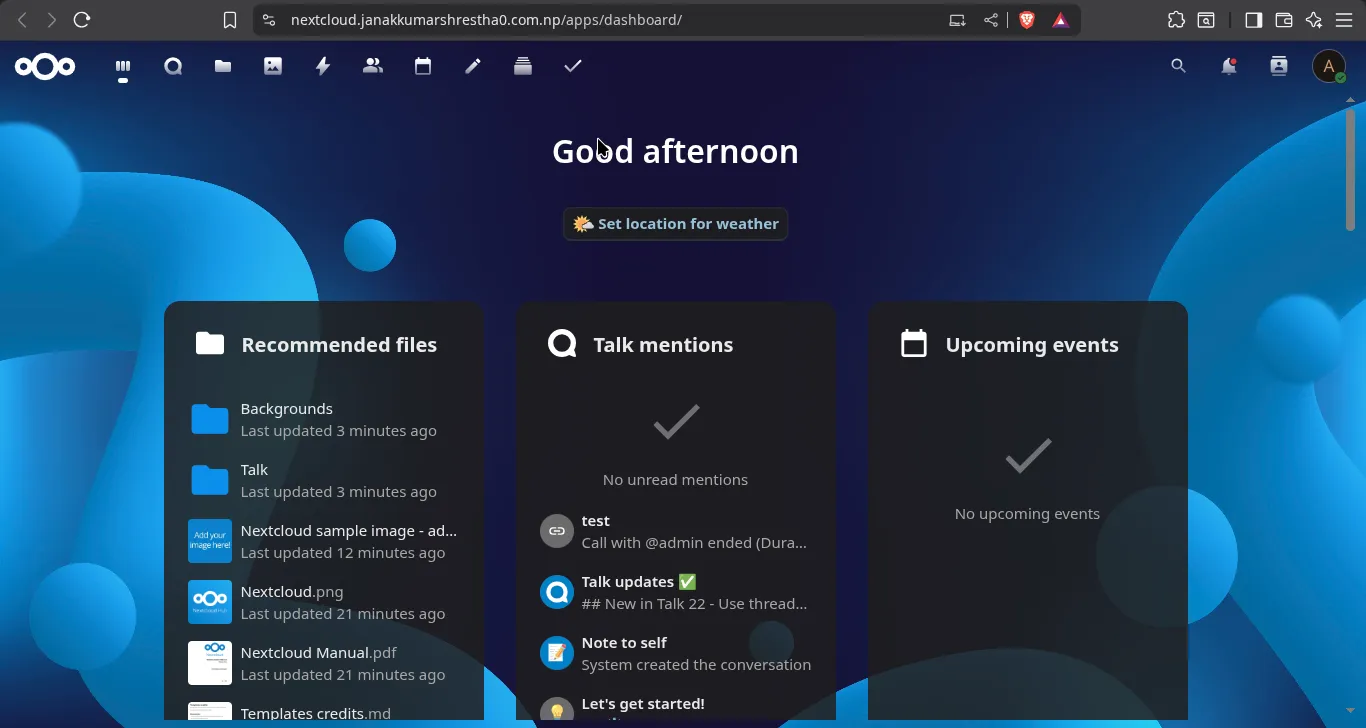
Congratulations! You now have a fully functional, self-hosted Nextcloud instance!
Resources
For detailed documentation and support, refer to the official Nextcloud All-in-One resources:
- Official Nextcloud AIO Guide: https://nextcloud.com/blog/how-to-install-the-nextcloud-all-in-one-on-linux/