Pull an image from Docker Hub and run it as a container
🧰 Prerequisites
- You have Docker installed on your machine.
- Check with:
docker --version - If not installed, follow the official Docker installation guide for your OS: https://docs.docker.com/get-docker/
sudo apt install docker.io -y - Check with:
✅ Step-by-Step Guide
🔹 Step 1: Open Terminal (or Command Prompt)
Open your terminal or command prompt. This is where you’ll run all Docker commands.
🔹 Step 2: Pull an Image from Docker Hub
Use the docker pull command:
docker pull hello-world💡 Explanation:
docker: The main Docker CLI command.pull: Tells Docker to download an image from Docker Hub.hello-world: The name of the image to pull.
This pulls the official
hello-worldimage, which is small and used for testing Docker installations.
🔹 Step 3: List Images on Your Machine
After pulling the image, check if it was successfully downloaded:
docker images💡 Output will look like this:
REPOSITORY    TAG       IMAGE ID       CREATED        SIZE
hello-world   latest    d1165f22117a   2 months ago   13.3kB
💡 Explanation:
REPOSITORY: Name of the image (hello-world)TAG: Version tag (default islatest)IMAGE ID: Unique identifier for the imageSIZE: Size of the image
🔹 Step 4: Run the Image as a Container
Now, run the image using the docker run command:
docker run hello-world💡 Explanation:
run: Tells Docker to create and start a new container from the specified image.hello-world: The image to use for creating the container.
💡 What Happens?
- Docker checks if the image exists locally.
- If yes (which it does), it starts a new container from that image.
- The container runs the default command defined in the image (in this case, prints a welcome message).
You should see output like:
Hello from Docker!
This message shows that your installation appears to be working correctly.
...
🔹 Step 5: List Running Containers
To see containers currently running:
docker psBut since hello-world exits immediately after printing the message, it won’t show up here.
To see all containers, including stopped ones:
docker ps -a💡 Output will look like:
CONTAINER ID   IMAGE         COMMAND    ...   STATUS                     NAMES
abc123xyz      hello-world   "/hello"   ...   Exited (0) 10 seconds ago   youthful_banach
🔹 Optional: Remove the Container
If you want to clean up:
docker rm abc123xyzReplace abc123xyz with your actual container ID or name.
🔹 Optional: Remove the Image
To remove the image from your system:
docker rmi hello-world📌 Summary of Commands
| Command | Description |
|---|---|
docker pull <image> | Downloads an image from Docker Hub |
docker images | Lists all images on your system |
docker run <image> | Runs an image as a container |
docker ps | Lists running containers |
docker ps -a | Lists all containers (including stopped ones) |
docker rm <container> | Removes a specific container |
docker rmi <image> | Removes a specific image |
🎯 Example with Another Image (nginx Web Server)
Let’s try something more practical — running a real web server:
docker run -d -p 8080:80 nginx💡 Explanation:
-d: Run container in detached mode (in background)-p 8080:80: Map port 8080 (your computer) to port 80 (inside the container)nginx: Official NGINX image
Now open your browser and go to:
👉 http://localhost:8080
You should see the NGINX welcome page!
You’re encountering this error:
Bind for 0.0.0.0:8080 failed: port is already allocated🔍 What does this mean?
This error occurs because port 8080 on your machine is already being used by another process, so Docker can’t bind to it.
✅ Step-by-Step Fix
🪛 Step 1: Find the Process Using Port 8080
Run this command in your terminal:
lsof -i :8080Or if you don’t have lsof, use:
sudo netstat -tulpn | grep :8080Example Output:
COMMAND   PID   USER    FD   TYPE DEVICE SIZE/OFF NODE NAME
node    12345   user   20u  IPv6 123456      0t0  TCP *:8080 (LISTEN)
Here, the process with PID 12345 is using port 8080.
🚫 Step 2: Stop the Conflicting Process
Use the kill command with the PID from above:
sudo kill -9 12345Replace
12345with the actual PID you found.
⚠️ Be careful not to kill important system processes. Make sure you know what the process is before killing it.
▶️ Step 3: Try Running the Docker Command Again
Now try starting NGINX again:
docker run -d -p 8080:80 nginxIt should now work and return a container ID like:
a14767df4f989392399558bee003840abe43350569edbe2c121ca304a683f1afYou can verify it’s running with:
docker psAnd visit http://localhost:8080 in your browser.
🔄 Alternative: Use a Different Host Port
If you don’t want to stop the existing service using port 8080, you can map NGINX to a different port on your host — for example, 8000:
docker run -d -p 8000:80 nginxThen open:
🧹 Optional: Clean Up Unused Containers/Ports
To avoid future conflicts, clean up unused containers:
docker stop $(docker ps -aq)
docker rm $(docker ps -aq)
⚠️ This will remove all running/stopped containers! Only do this if you’re okay with that.
📌 Summary
| Problem | Solution |
|---|---|
| Port 8080 is already in use | Kill the conflicting process or use another port |
| Can’t find which process is using it | Use lsof -i :8080 or netstat |
| Don’t want to kill the process | Run NGINX on a different port: -p 8000:80 |
🙌 Final Tip
Once you’re comfortable with these basics, explore Docker Hub (https://hub.docker.com) to find thousands of pre-built images for apps like MySQL, Redis, Python apps, etc.
Build an image using a Dockerfile and Run the image as a container
📁 Step 1: Create a Project Directory
Open your terminal and create a new folder for your project:
mkdir my-docker-app
cd my-docker-app
This will be the working directory where you’ll create your Dockerfile and application files.
📄 Step 2: Create a Simple Application
For this example, we’ll create a very simple Python web app using Flask.
🔹 Create a file named app.py:
touch app.pyNow open app.py in a text editor and paste the following code:
from flask import Flask

app = Flask(__name__)

@app.route('/')
def hello():
    return "Hello from Docker!"

if __name__ == "__main__":
    app.run(host='0.0.0.0', port=5000)
This is a basic Flask app that responds with "Hello from Docker!" when accessed via a browser.
🔹 Create a requirements.txt file:
echo "flask" > requirements.txtThis tells Docker which Python packages to install.
🐳 Step 3: Create a Dockerfile
A Dockerfile is a script containing instructions to build a Docker image.
Create the Dockerfile:
touch DockerfileOpen it in your editor and add the following content:
# Use an official Python runtime as the base image
FROM python:3.9-slim

# Set the working directory inside the container
WORKDIR /app

# Copy the current directory contents into the container at /app
COPY . /app

# Install any needed packages specified in requirements.txt
RUN pip install --no-cache-dir -r requirements.txt

# Make port 5000 available to the outside world
EXPOSE 5000

# Define environment variable (optional)
ENV NAME="Docker"

# Run app.py when the container launches
CMD ["python", "app.py"]
🏗️ Step 4: Build the Docker Image
From inside your project directory (my-docker-app), run:
docker build -t my-flask-app .💡 Explanation:
docker build: Command to build an image.-t my-flask-app: Tags the image with a name (my-flask-app)..: Tells Docker to use the current directory as the build context (where it looks for files likeDockerfile,app.py, etc.).
You’ll see output showing each step being executed — downloading Python, installing Flask, copying files, etc.
▶️ Step 5: Run the Container
Once the image is built, run it as a container:
docker run -d -p 5000:5000 my-flask-app💡 Explanation:
-d: Run the container in detached mode (in background).-p 5000:5000: Map port5000on your host to port5000in the container.my-flask-app: The image to run.
🌍 Step 6: Test the App
Open your browser and go to:
You should see:
Hello from Docker!
🎉 You’ve successfully built a Docker image and run a web app inside a container!
🗑️ Optional: Clean Up
To stop and remove the container:
docker stop <container_id>
docker rm <container_id>
Use docker ps to find the container ID.
📋 Summary of Key Commands
| Command | Description |
|---|---|
docker build -t <image-name> . | Builds a Docker image using the Dockerfile in current directory |
docker run -d -p <host-port>:<container-port> <image> | Runs a container from the image |
FROM <base-image> | Base image to start from (e.g., Python, Ubuntu) |
WORKDIR /path | Sets the working directory inside the container |
COPY . /app | Copies files from local machine to container |
RUN <command> | Runs a shell command during image build |
EXPOSE <port> | Documents which port the container listens on |
CMD ["cmd", "arg1"] | Default command to run when container starts |
✅ Bonus Tip: Best Practices
- Always use
.dockerignoreto exclude unnecessary files (like__pycache__,.git,venv, etc.) - Keep images small by using minimal base images (e.g.,
alpine,slim) - Avoid installing unnecessary dependencies
- Use multi-stage builds for more complex apps (advanced topic)
Push the docker image to Docker Hub
🔐 Step 1: Log in to Docker Hub
In your terminal, run:
docker loginYou’ll be prompted to enter your Docker Hub username and password.
Example:
Username: your-dockerhub-username
Password: **********
Login Succeeded
✅ If successful, you’re now logged in and ready to push images.
🏗️ Step 2: Tag Your Image with Docker Hub Username
Before pushing an image to Docker Hub, you need to tag it with your Docker Hub username, like this:
docker tag my-flask-app your-dockerhub-username/my-flask-appReplace
your-dockerhub-usernamewith your actual Docker Hub username.
💡 Explanation:
docker tag: Renames or tags an existing image.my-flask-app: The local image name you built earlier.your-dockerhub-username/my-flask-app: The new name for Docker Hub.
You can verify the tagging by running:
docker imagesYou should see both my-flask-app and your-dockerhub-username/my-flask-app listed.
🚀 Step 3: Push the Image to Docker Hub
Now push your image:
docker push your-dockerhub-username/my-flask-appThis uploads the image to Docker Hub.
Example Output:
The push refers to repository [docker.io/your-dockerhub-username/my-flask-app]
...
Pushed
latest: digest: sha256:... size: ...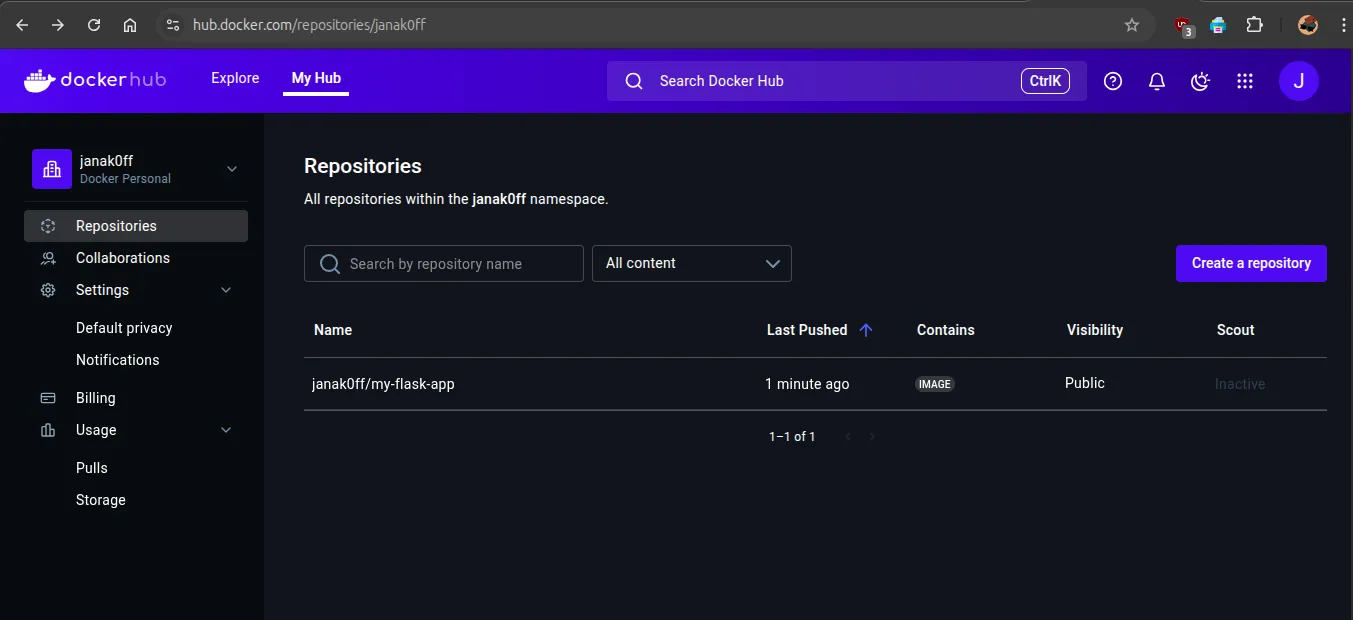
✅ Success! Your image is now available on Docker Hub.
🌍 Step 4: Test Pulling Your Image from Docker Hub
To confirm everything works, stop and remove your local image:
docker stop $(docker ps -aq)
docker rm $(docker ps -aq)
docker rmi your-dockerhub-username/my-flask-app
docker rmi my-flask-app
Then pull it back from Docker Hub:
docker pull your-dockerhub-username/my-flask-appAnd run it:
docker run -d -p 5000:5000 your-dockerhub-username/my-flask-appGo to http://localhost:5000 — you should still see:
Hello from Docker!🎉 You’ve successfully pushed your image to Docker Hub and pulled it again!
📋 Summary of Key Commands
| Command | Description |
|---|---|
docker login | Log in to Docker Hub |
docker tag <local-image> <username>/<repo> | Tag image for Docker Hub |
docker push <username>/<repo> | Upload image to Docker Hub |
docker pull <username>/<repo> | Download image from Docker Hub |
📝 Optional: Add a Tag (e.g., Version)
Instead of always using latest, you can version your image:
docker tag my-flask-app your-dockerhub-username/my-flask-app:v1.0
docker push your-dockerhub-username/my-flask-app:v1.0
Then pull with:
docker pull your-dockerhub-username/my-flask-app:v1.0🧼 Bonus: Clean Up Local Images
To free up space:
docker images prune -aOr just remove specific images:
docker rmi your-dockerhub-username/my-flask-app